

Creating a webhook
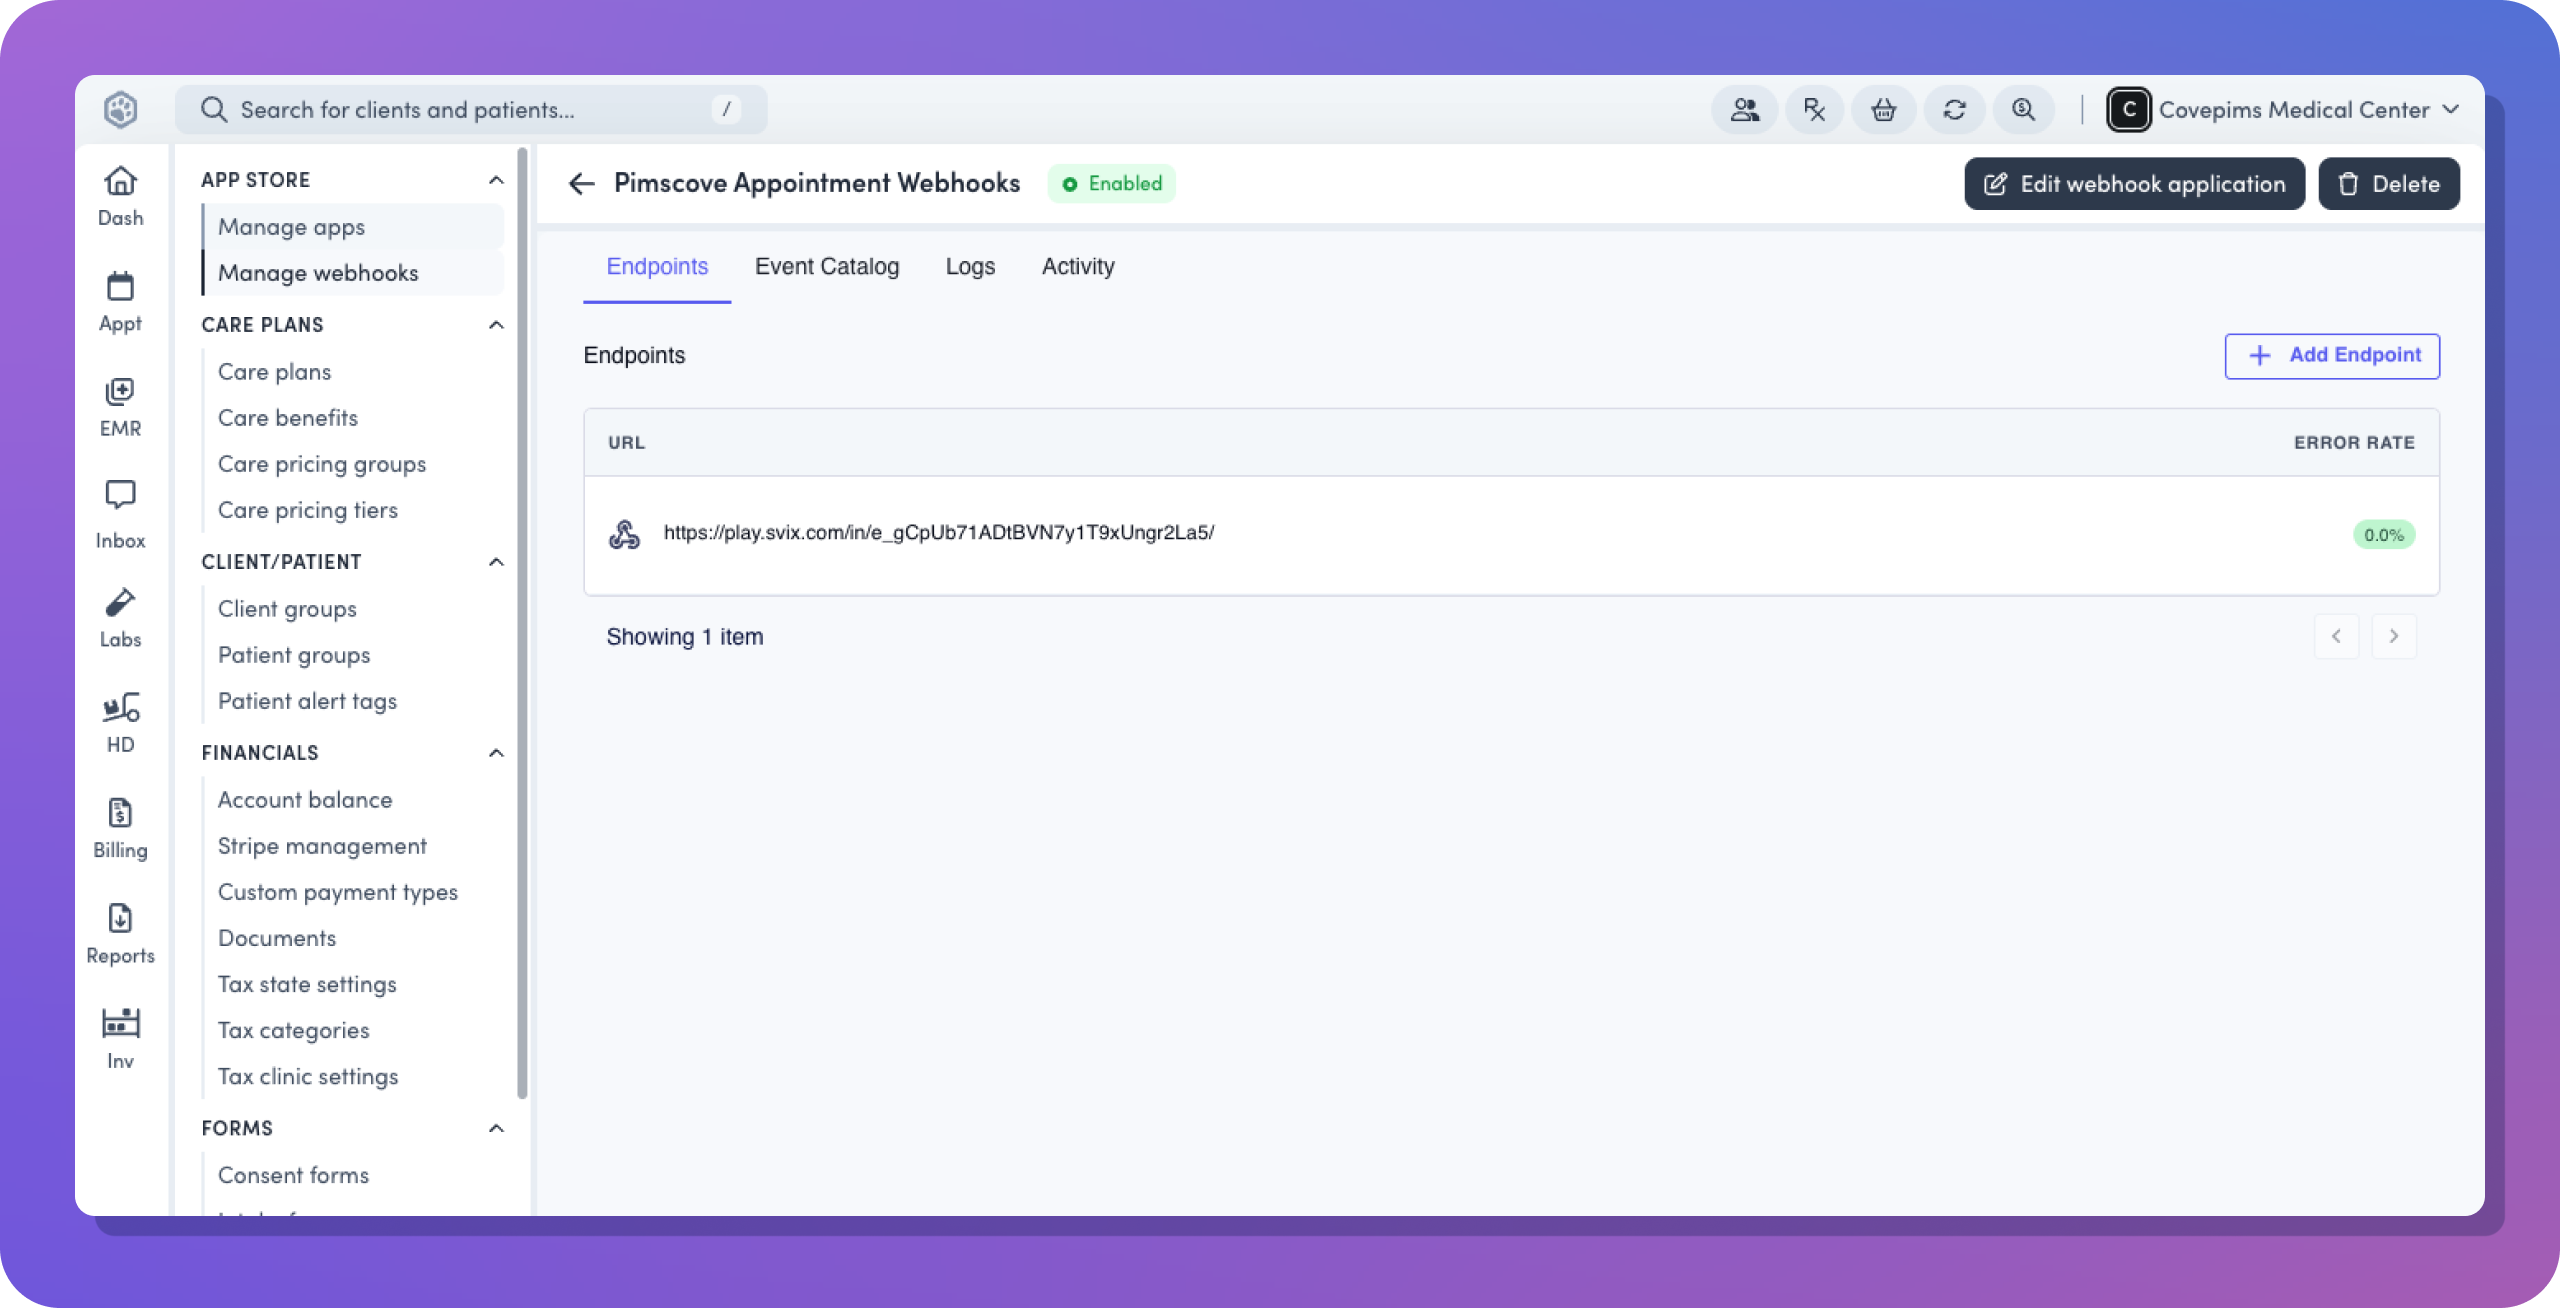
Webhook endpoints can we configured directly in the Vetcove dashboard. You can create multiple webhooks that register for different event types. When creating a webhook, you will need to provide the following information:- The URL where you want to receive webhook events
- The event types you want to receive
Webhook event structure
Each webhook event is sent as a POST request to your specified URL. Webhooks will typically only include the IDs of the entities that have been created or updated (and select fields from the entity). You will want to use the IDs to fetch the full details of the entity from the API. Each webhook event will be structured as follows:object
The payload of the webhook event.
string
The webhook event that was triggered.
Securing your webhooks
To ensure webhook integrity, you should validate incoming requests before processing them. Each webhook request includes an Svix-Signature header, which should be used to verify the authenticity of the request. We strongly recommend using Svix’s SDK to perform this validation. It is also important to implement idempotency by tracking webhook event identifiers. This prevents duplicate processing in cases where retries occur.Handling retries
If your webhook endpoint fails to respond with a 2xx status code, Svix will automatically retry delivery using an exponential backoff strategy. Your system should be designed to handle duplicate events safely.Available webhook events
Webhook events are triggered when specific actions occur. You can find a full list of available events directly within the Vetcove dashboard. New webhook events are added regularly upon request.Troubleshooting
If you are not receiving webhook events, ensure your endpoint URL is correct and publicly accessible. Confirm that you are subscribed to the correct event types. Webhooks require a2xx HTTP response to be considered successfully delivered. If issues persist, you can check a history of webhook requests directly within the Vetcove platform.